The second private beta of Illuvium: Overworld dropped last week and Polemos’ Mogglin has since spent quality time in its mysterious world, battling, gliding and dying.
He also picked out the 7 best things this ambitious blockchain project has given gamers this time around.
1. New movement mechanics
The best and most important update to mention is the new movement mechanics. Without them, some of my favourite things to do in this game just wouldn’t work.
The new wing-suit for gliding, for example, allows you to reach places you couldn’t with just the mag boots and booster. And if you mix the gliding mechanic with the occasional jump, you can get even further.
The land-surfing with the friction boots is pretty enjoyable and you can hit new top speeds downhill.
*Enjoy our reporting? Sign up for the Pharos newsletter and receive an update every week for free
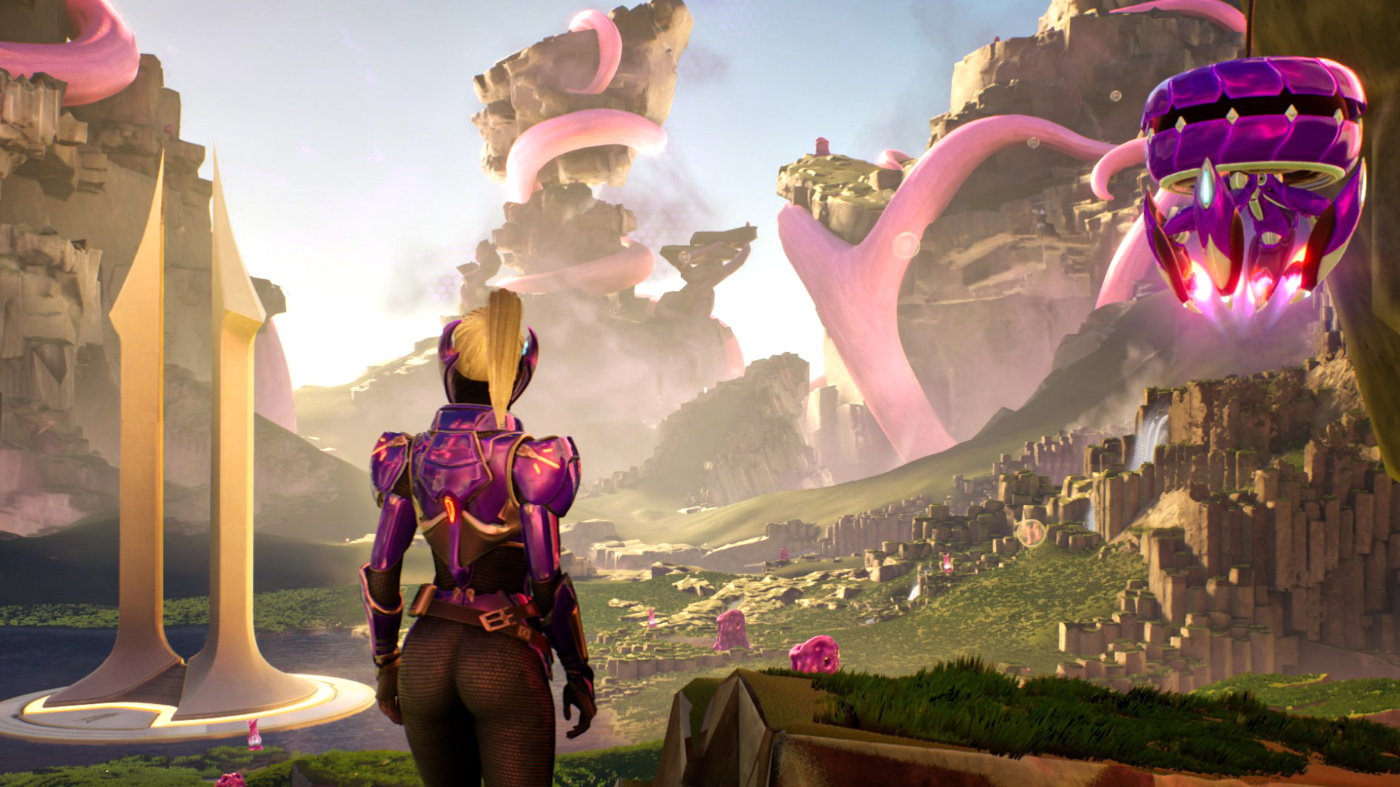
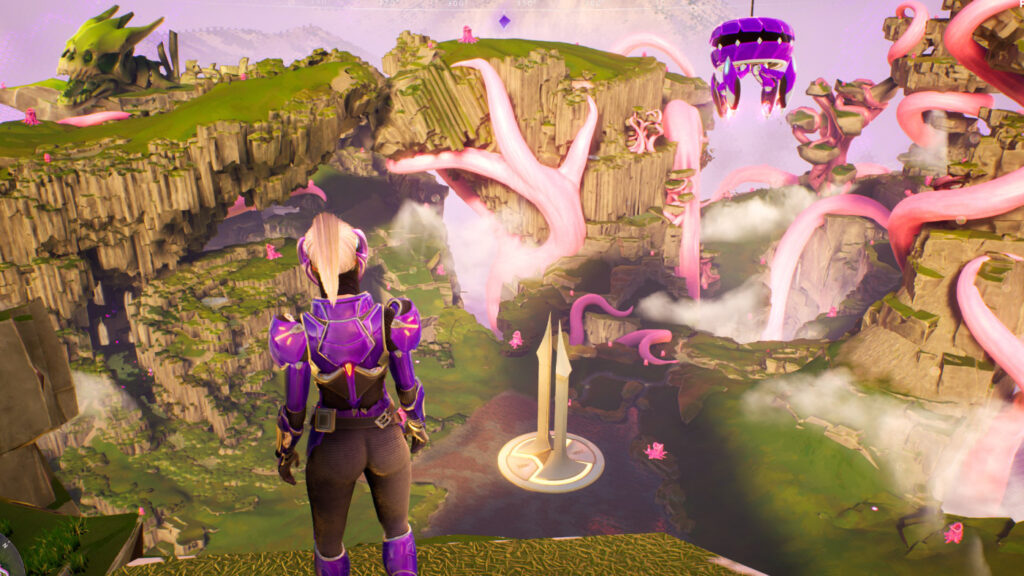
2. Brightland Steppes is a beauty
Everyone is talking about how beautiful the Brightland Steppes map is. And they’re not wrong.
So far in this build, I have spent more time gliding and sliding in the stage 0 option than collecting materials in the higher stages.
Exploring Brightland Steppes, one of two new areas in this beta, is the perfect way to get a feel for the new mechanics and I don’t think that is a coincidence.
All of Illuvium’s map designs so far do a great job of balancing the movement mechanics – your gameplay experience is enjoyable, without being too basic or simple.
Brightland Steppes’ high points are accessible in much easier ways than via climbing. You can use the bubbles rising from alien-looking plants, which gives this part of the map a more fantasy vibe than others.

In the bubbles, you rise into the sky and then glide to the nearest highpoint, with a little climbing at the end. This is when I set my beacon, a favourite tactic of mine from the first beta.
From here I have been setting myself personal challenges, rather than playing the game the way it is intended. First up, I wanted to get from the highest point on the map and land on the obelisk.
Watch me do it in the video below:
I am now working on setting the world record for longest slide (in time and distance, without glitches) and the only reason I can continue trying over and over, is down to the design of Brightland Steppes – its thoughtful mechanics and beautiful landscape.
I’m also looking to the future and imagining the illuvials on any of the maps released so far. This map is where I can see myself farming for them the most. It’s not just a pleasant place to spend your time in the world of Illuvium.
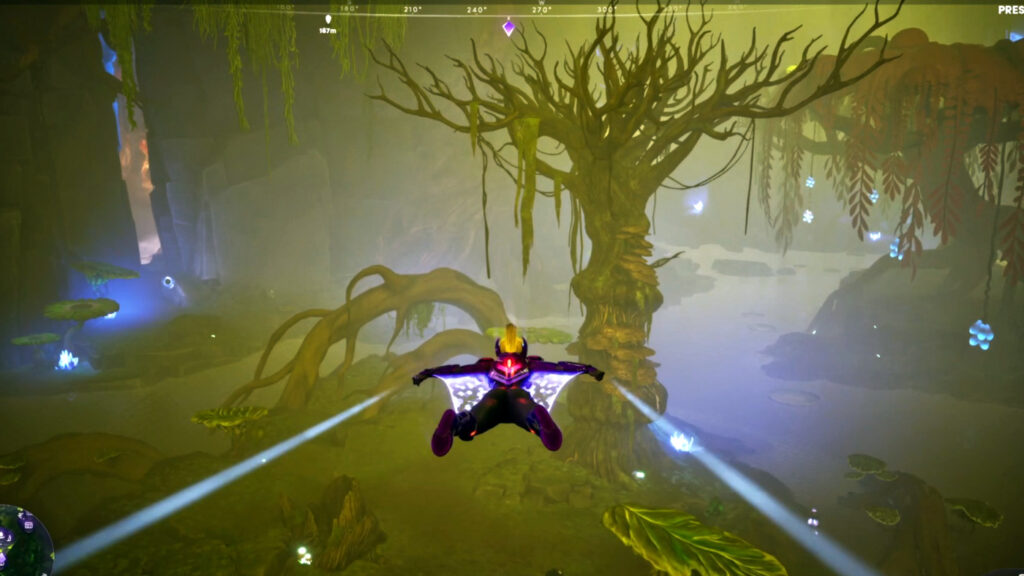
3. The challenging world of the Abyssal Basin
Of all the new things in this beta, Abyssal Basin is my favourite. It’s a treacherous swamp filled with luminescent life-forms where your core movement skills come into play in a frustratingly challenging way.
At first, leaving the obelisk reminded me of another part of the map, Crimson Waste, as the water around it will kill you just like the acid in Crimson Waste. But I soon learned the Abyssal Basin is far more dangerous and there are many more obstacles lurking to reset your progress.
I died and was relocated back to the obelisk far too many times while trying to explore the Basin.
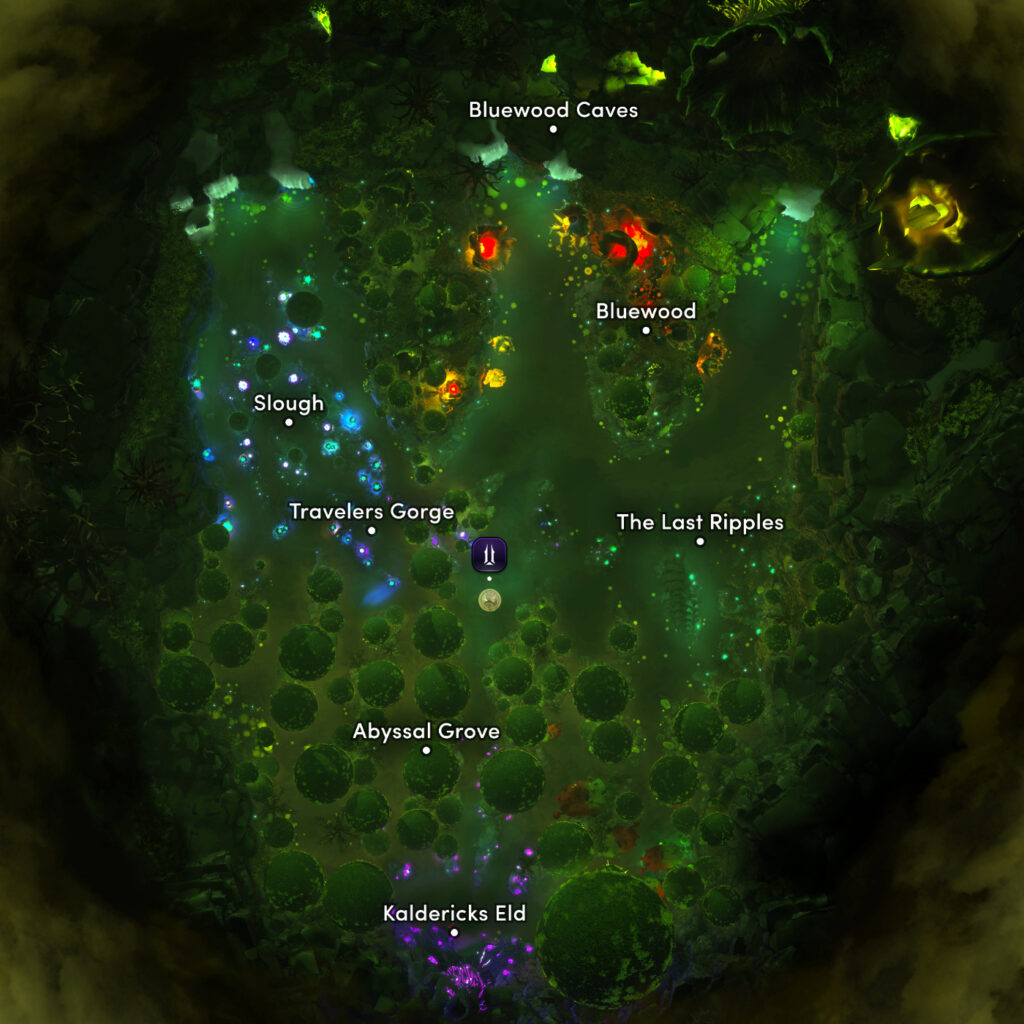
Kaldericks Eld, an area located at the bottom of the Basin, is an interesting location that is relatively easy to visit as there are lily pads floating that way along the water.
On the way is Abyssal Grove which I found kind of plain compared to the rest of the map. It’s rather safe and will be a good place to get some easy resources from.
Going against the tide, you’ll find the bright mushroom forest of Travelers Gorge and Slough (a hilarious name if you are from the UK). This area has shallow waters you can go into, but they are also shallow waters that still kill you so beware.
The glowing assets in this map are amazingly well crafted, but this area is by no means my favourite part of the Basin.
That title goes to the Bluewood Caves.
There are a few ways to enter these caves behind the waterfalls at the top of the map, but the entry route the Illuvium game designers seemed to want you to take was through Slough, along the left side of the map.
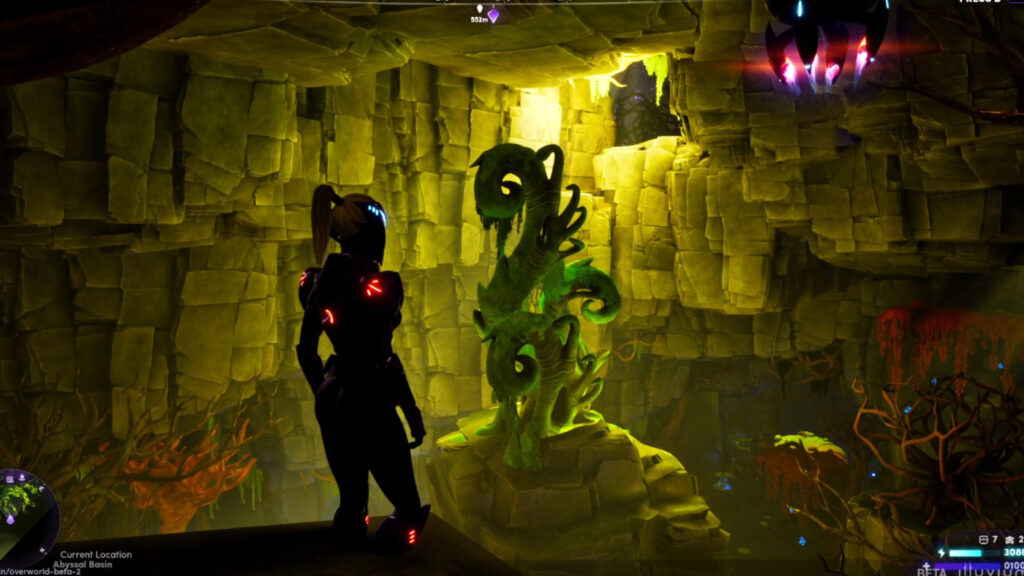
There are a couple of different sessions either side of the cave’s main chamber, which has a giant beanstalk in the centre of it. There is also a view of an area that sits above Abyssal Basin, but this exit is blocked by an invisible barrier.
There is a mix of safe and deadly waters inside the caves. There are numerous ledges along the walls to climb, and I enjoyed working out how to get to some of these – just to check if there were any cave paintings waiting to be discovered as there were in Crimson Waste. So far, I haven’t found anything.
Bluewood is difficult to get to as it’s in the far north surrounded by water and cliff edges. I managed to climb the cliff on small ledges but there is an easier way to access it if you go through Bluewood Caves first and exit through a waterfall.
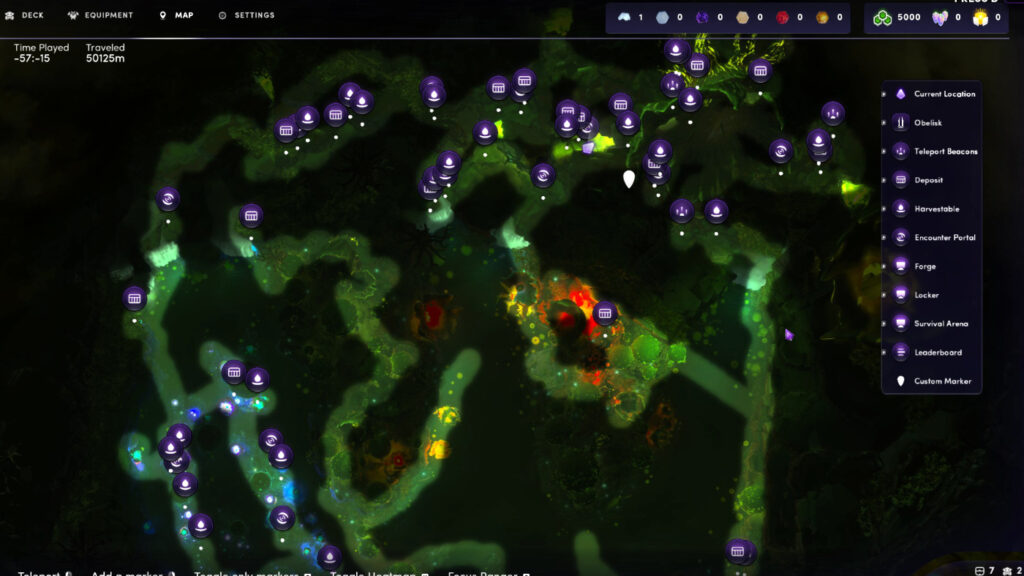
It’s worth using your heat maps (see images directly below) in Brightland Steppes and the Abyssal Basin as, from what I can tell, the resources seem to be bunched together in certain areas. In other parts, however, there only seems to be a few resources dotted around.

4. The giant illuvial secret?
Illuvium’s infamously non-existent lore pushed me to search the map looking for Easter eggs – or just anything that would reveal more lore than what was in the initial trailer!
I have noticed one thing.
In all three maps, there are giant remains of creatures far bigger than any illuvial (see images below) we have seen so far.
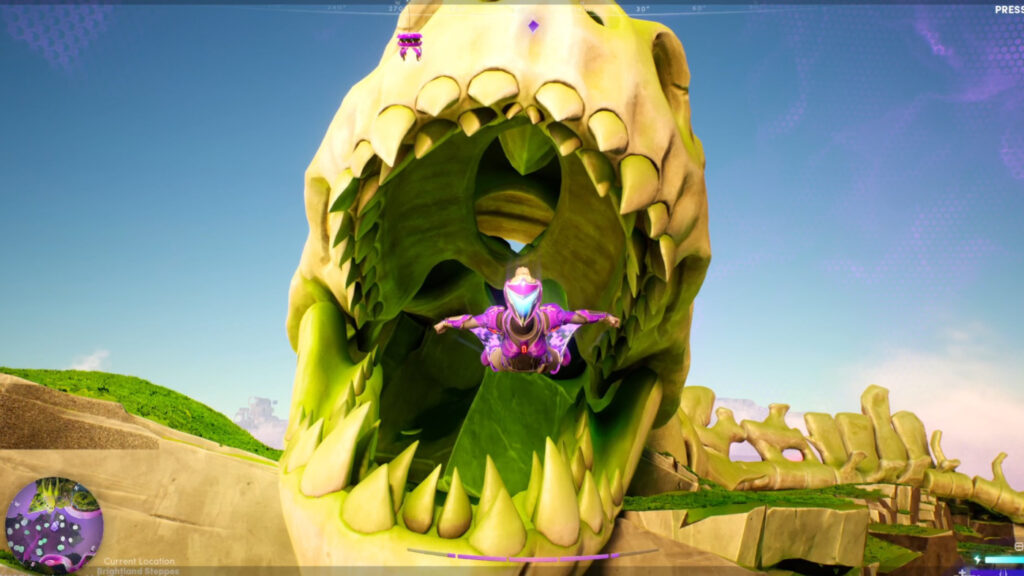
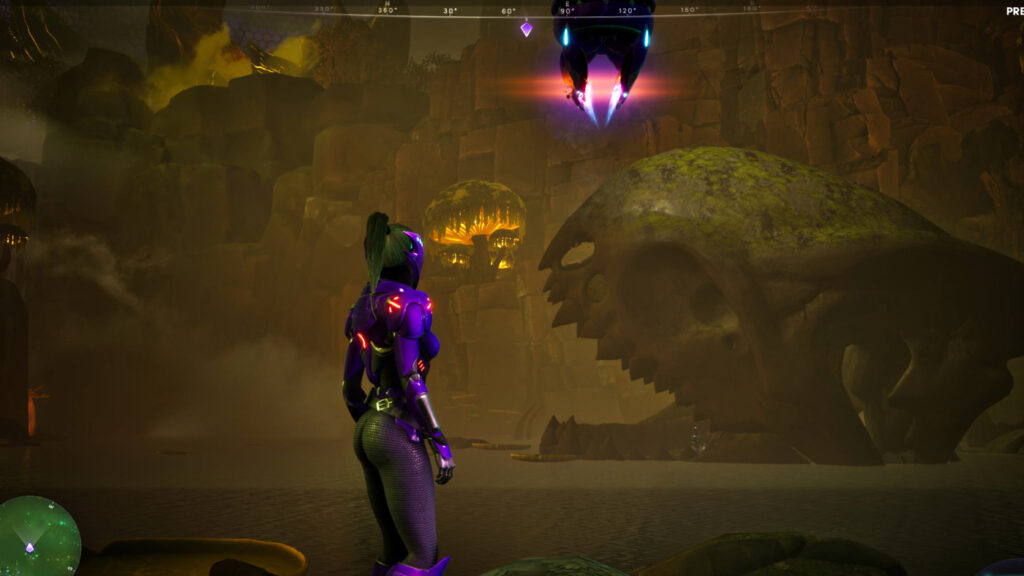
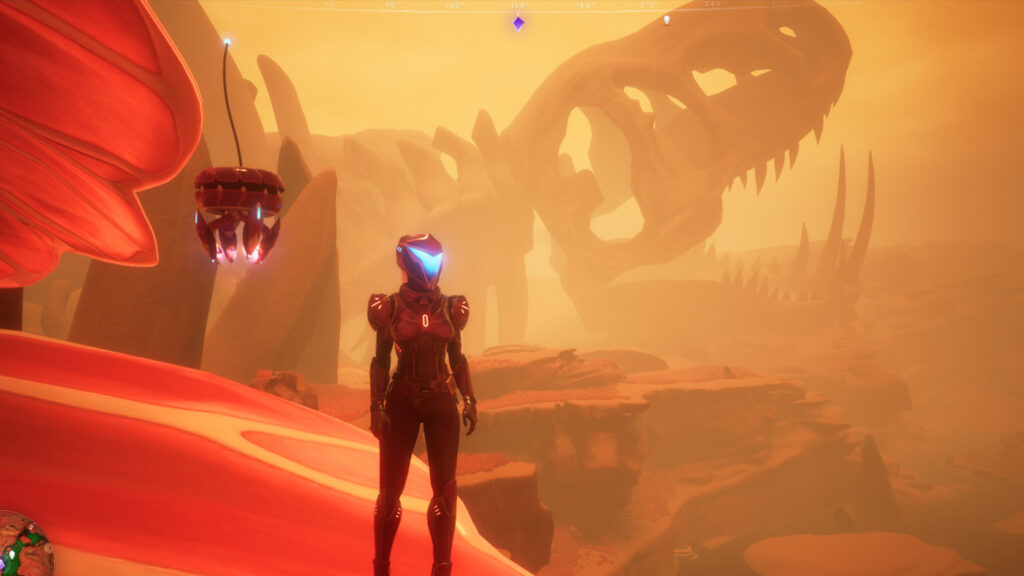
They have been purposefully placed in every map and I just can’t help wondering if not all of these titan-size creatures were wiped out in the world of illuvium?
5. The new illuvials
There are 22 new illuvials in this beta, but I am only going to talk about my favourites: Krunk, Slashin and Gyro.
Krunk
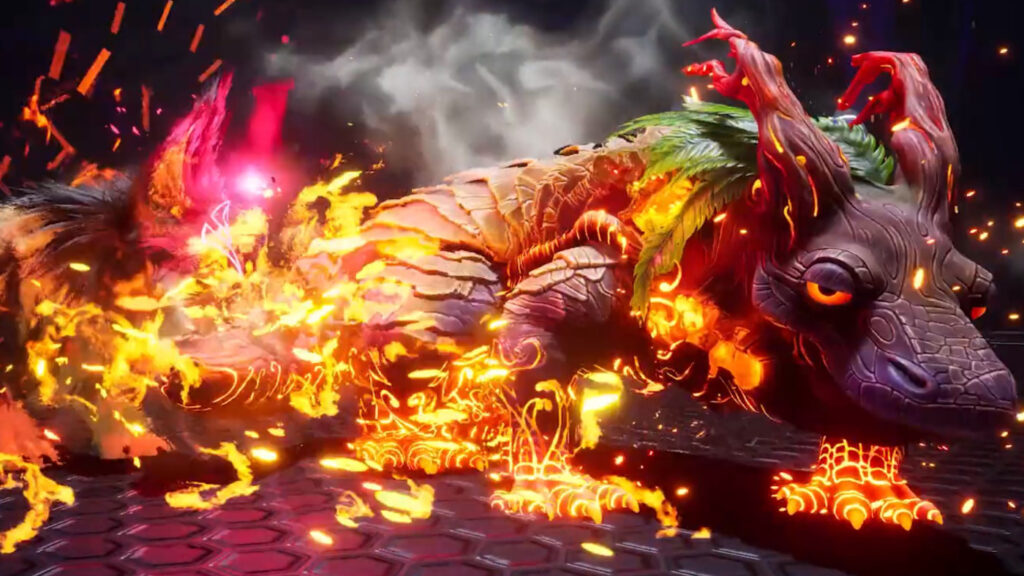
This wildfire bulwark has a certain style about him, which makes me think he is a favourite of the Illuvium character artists as well.
They certainly managed to add just that tiniest bit more character to him, compared to the other illuvials.
Slashin & Gyro
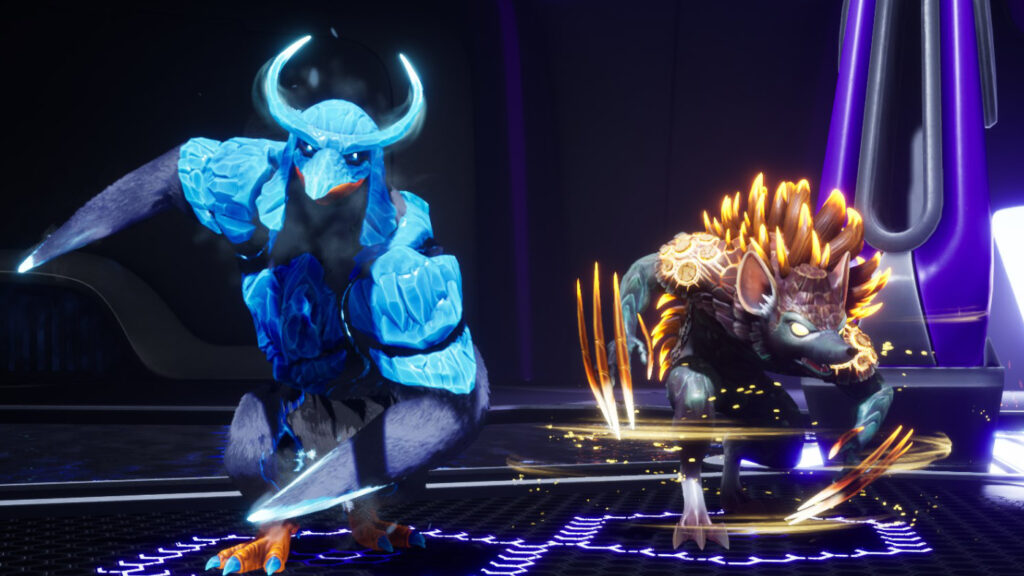
These two rouge synergies are my favourite to watch in the arena (but rouges are my favourite class in any game!)
Slashin (on the left in the above image), as a vanguard that mixes rouge with bulwark, looks like a bodybuilder assassin in the arena with heavy melee damage and a fast attack speed.
Boosted by its cold fury and a hyper from its bulwark side, which turns it into a survival tank, it’s great to watch the situations it can get out of in the arena.
Gyro on the other hand seems to draw inspiration from Sonic as it rolls across the arena doing damage to the enemies it passes through. With an explosion of spikes hitting quite a big area, I can see him being useful in almost every strategy.
As a pair in the arena, especially when used to focus an enemy, they shred through HP and paired with the right augments they are among the deadliest illuvials.
I managed to get to round 11 with just these 2 illuvials and very little planning – just relying on their strengths.
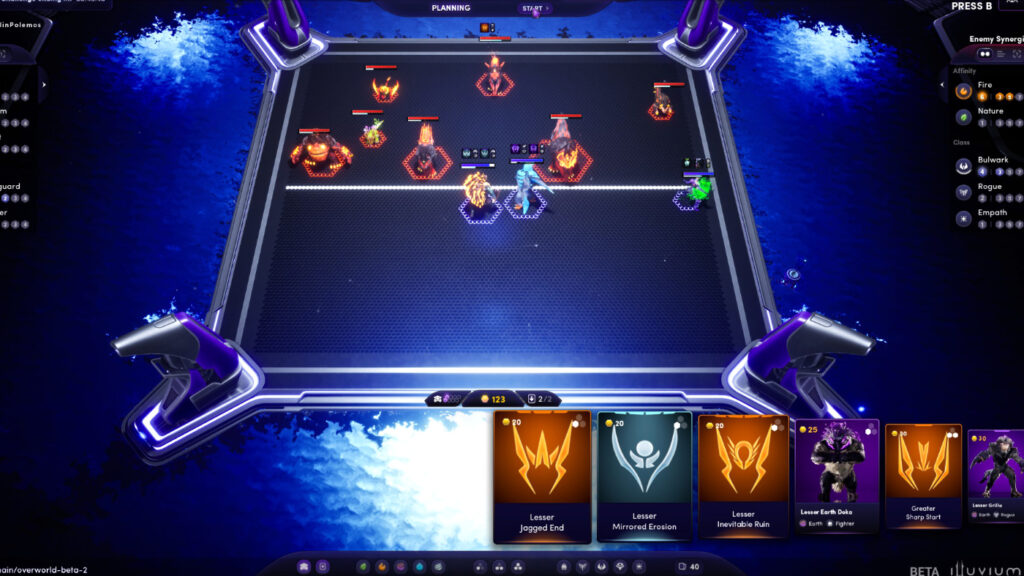
6. The battler gets a makeover
Given so much has changed in this beta – from the stat adjustments to the new illuvials and the overload spread of damage updates – you will have to file away what you knew about arena strategy as ”foundation knowledge” when you play this beta. There is a good chance the strategy you were using in previous versions just won’t be as useful in this build, so you will need to start coming up with new tactics to clear the arena as fast as you can.
Whether you’re someone who dives into the numbers or leans into the practice board to get a feel for what works, you will find this strategy overhaul in the arena refreshing.
7. The obelisk overload
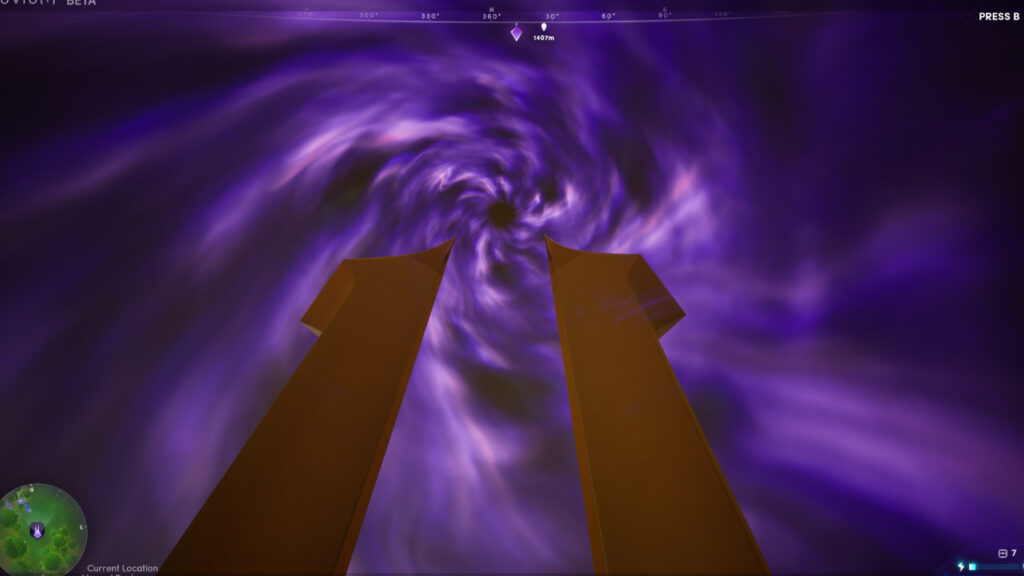
This is how Illuvium describes the new overload mechanic in this beta:
”As players utilise their drone’s energy, it triggers instability within the obelisk, leading to a dramatic collapse of the region’s barrier. This sets players against the clock, forcing them to secure their loot before the area becomes too treacherous to navigate.“
It is a great feature from both a gameplay and game design point of view. Firstly, the collapse forces players to strategize and optimise which resources they collect where and when.
I knew about this feature before I played, but managed to forget all about it when I first jumped into the map so I had no plan or route to outrun it when the collapse began. However, until you see it in action, it is hard to get your head around a strategy to better it.
Watch me die trying in the video below:
Also, given the speed of the collapse, even if you have the perfect route out, you will still end up having to just try and outrun it, with little to no time to collect any resources with the last bits of your energy.
Instead, you have got to move right in towards the obelisk before the overload, which should give you enough time to pick up all the resources closest to the middle before the barrier has time to close in.
Strategy aside, I loved the look of the barrier, especially close up when it is wrapped around the obelisk with a quiet humming noise in the background, suggesting it is time to leave back to the Sanctum Mesa.